The Ultimate 30-Day Beginner Home Fitness Challenge: Build Consistency Without Burnout
For decades, commercial fitness culture has promoted a pervasive myth: that meaningful physical transformation requires an expensive gym membership, an intimidating array of iron weights, and two hours of exhausting daily punishment. The reality is that your muscular, cardiovascular, and nervous systems do not know whether you are pressing a 50-pound chrome dumbbell or leveraging your own bodyweight against the laws of gravity in your living room. What your body understands is mechanical tension, progressive overload, rate of force development, and consistent neuromuscular stimulus. Today’s training protocol, The Ultimate 30-Day Beginner Home Fitness Challenge: Build Consistency Without Burnout, delivers a world-class, joint-friendly workout you can perform anywhere with zero specialized gear.
Whether your goal is to build sculpted athletic muscle, burn stubborn visceral fat, eliminate chronic back and knee stiffness, or supercharge your daily vitality, this routine provides the ultimate roadmap. Below, you will find the complete anatomical breakdown, movement biomechanics, form cues, rep-and-set prescriptions, and recovery protocols designed to ensure you get maximum physical return from every single minute of exercise.
The Biomechanical Blueprint: Why Bodyweight & Functional Training Delivers Elite Results
When you train using multi-joint compound movement patterns, you stimulate hundreds of synergistic stabilizer muscles that traditional fixed gym machines completely ignore. Fixed machines lock your joints into artificial, rigid movement tracks, which often places unnatural shear stress across vulnerable connective tissues (such as the patellar tendon and rotator cuff). In contrast, closed-kinetic-chain bodyweight movements require your central nervous system to coordinate dynamic balance, pelvic stability, and core bracing simultaneously.
Furthermore, bodyweight training allows you to manipulate leverage, tempo, and range of motion to infinitely scale exercise difficulty. By simply elevating your feet during a push-up, slowing down the eccentric (lowering) tempo of a squat to four agonizing seconds, or pausing for two seconds at the peak contraction of a glute bridge, you create intense muscular hypertrophy without needing a single pound of iron. This delivers dense, functional strength that translates directly into pain-free everyday movement.

Workout Structure & Exercise Prescription Table
| Exercise Movement | Target Muscles | Sets & Reps | Tempo (Eccentric / Pause / Concentric) | Rest Interval |
|---|---|---|---|---|
| Day 1-7: The Habit Foundation Phase | Mobility & Dynamic Warm-Up | 1-2 Sets x 10 Reps | Fluid, rhythmic continuous movement | 30 seconds |
| Day 8-14: Introducing Progressive Intensity | Quadriceps, Glutes, Core | 3-4 Sets x 12-15 Reps | 3-0-1 (3s down, 0s pause, 1s up) | 45-60 seconds |
| Day 15-21: The Midpoint Recovery & Refocus | Chest, Shoulders, Triceps | 3-4 Sets x 10-12 Reps | 3-1-1 (3s down, 1s hold, 1s press) | 45-60 seconds |
| Day 22-28: Mastering Full-Body Stamina | Hamstrings, Glutes, Balance | 3 Sets x 10-12 / leg | 2-1-1 (Controlled, stable descent) | 45 seconds |
| Day 29-30: Benchmark Testing & Celebration | Transverse Abdominis, Obliques | 3 Sets x 30-45 seconds | Continuous isometric bracing tension | 30 seconds |
| Creating Your Day 31+ Sustainable Lifestyle Plan | Posterior Chain, Glute Max | 3 Sets x 15-20 Reps | 2-2-1 (2s down, 2s peak squeeze) | 45 seconds |
Essential Setup & Equipment Requirements
One of the greatest virtues of this training framework is its simplicity. You do not need a dedicated garage gym or expensive machinery to get started:

Minimalist Home Setup Checklist
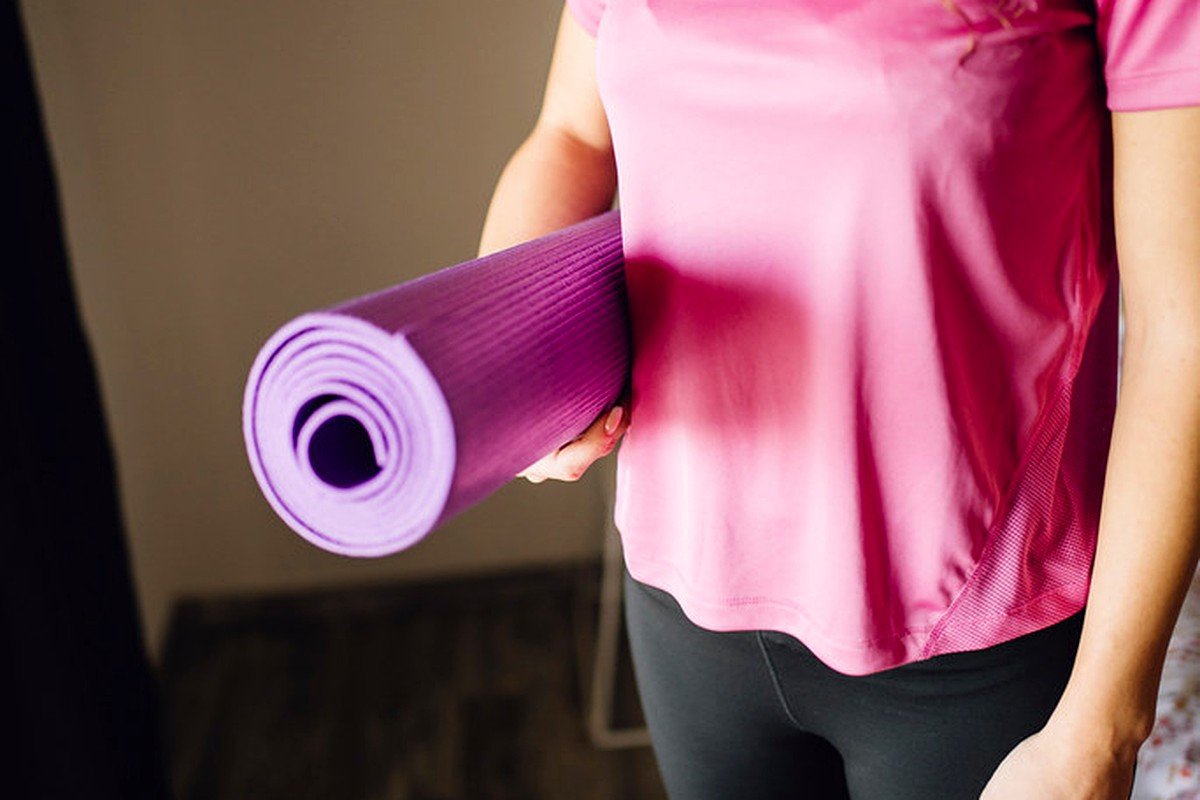
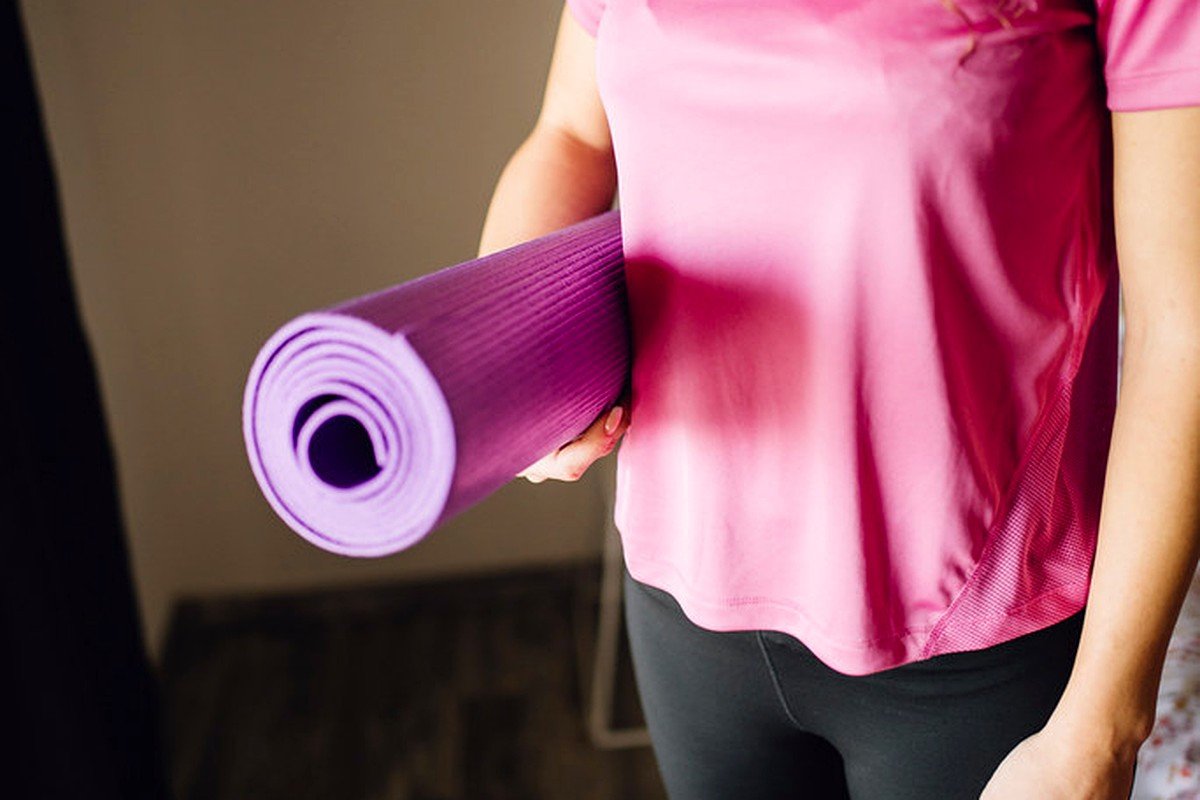
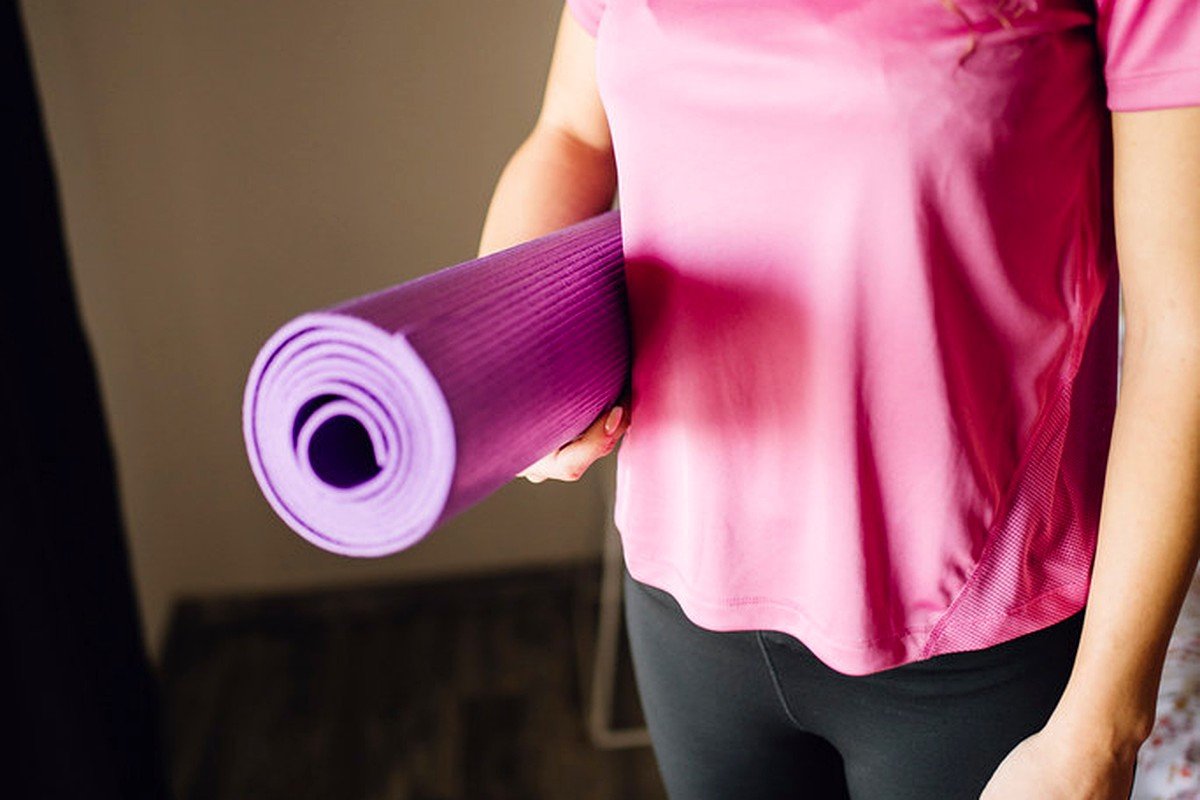
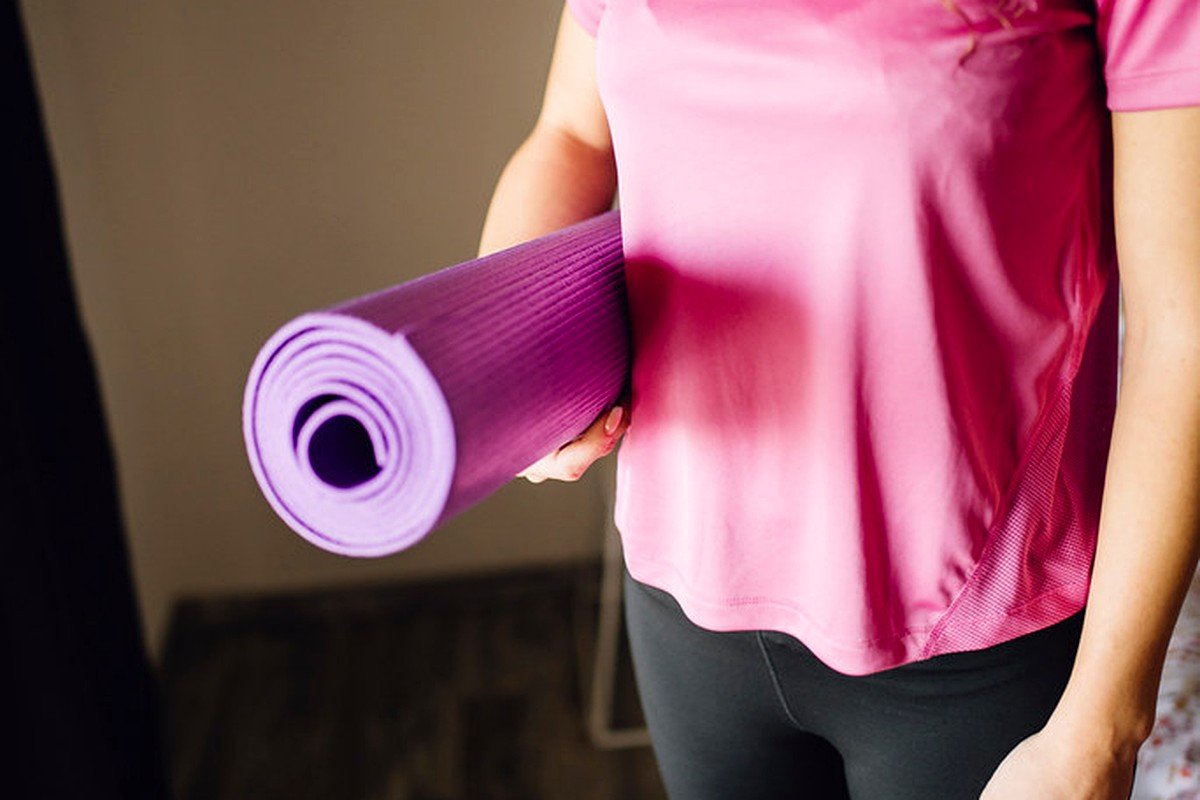
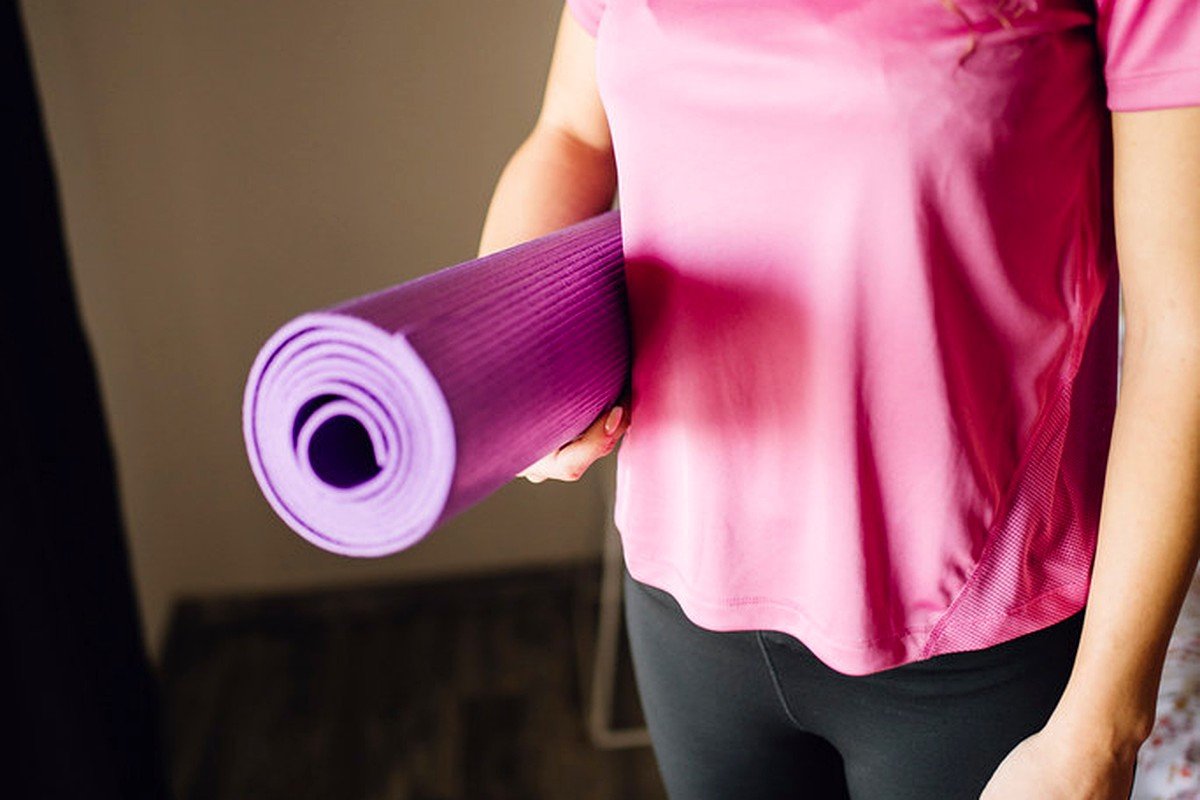
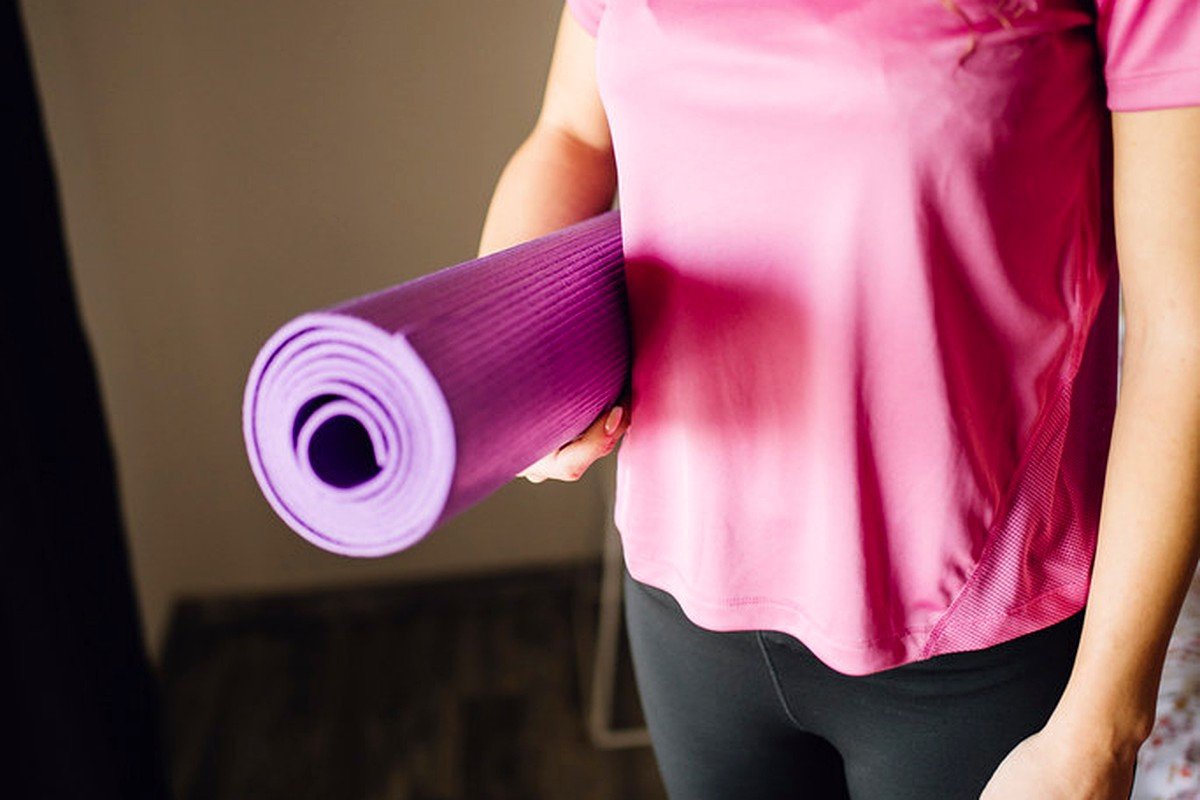
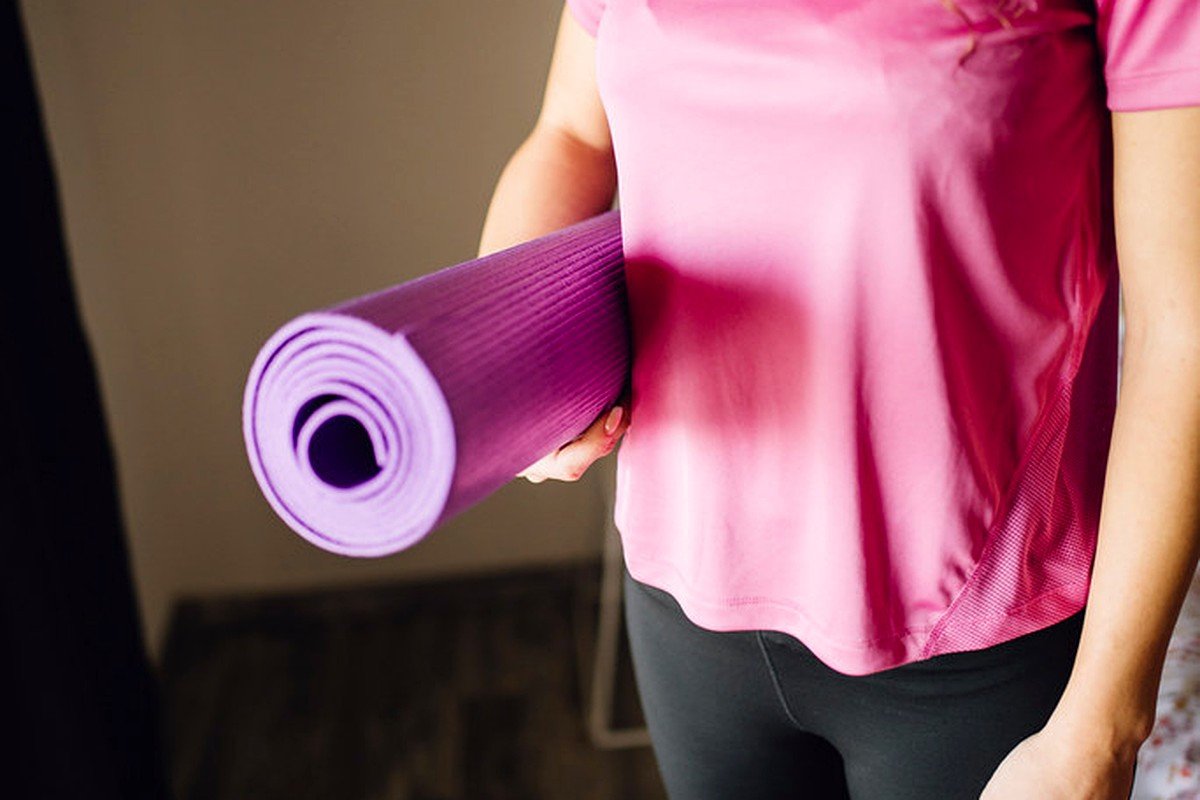
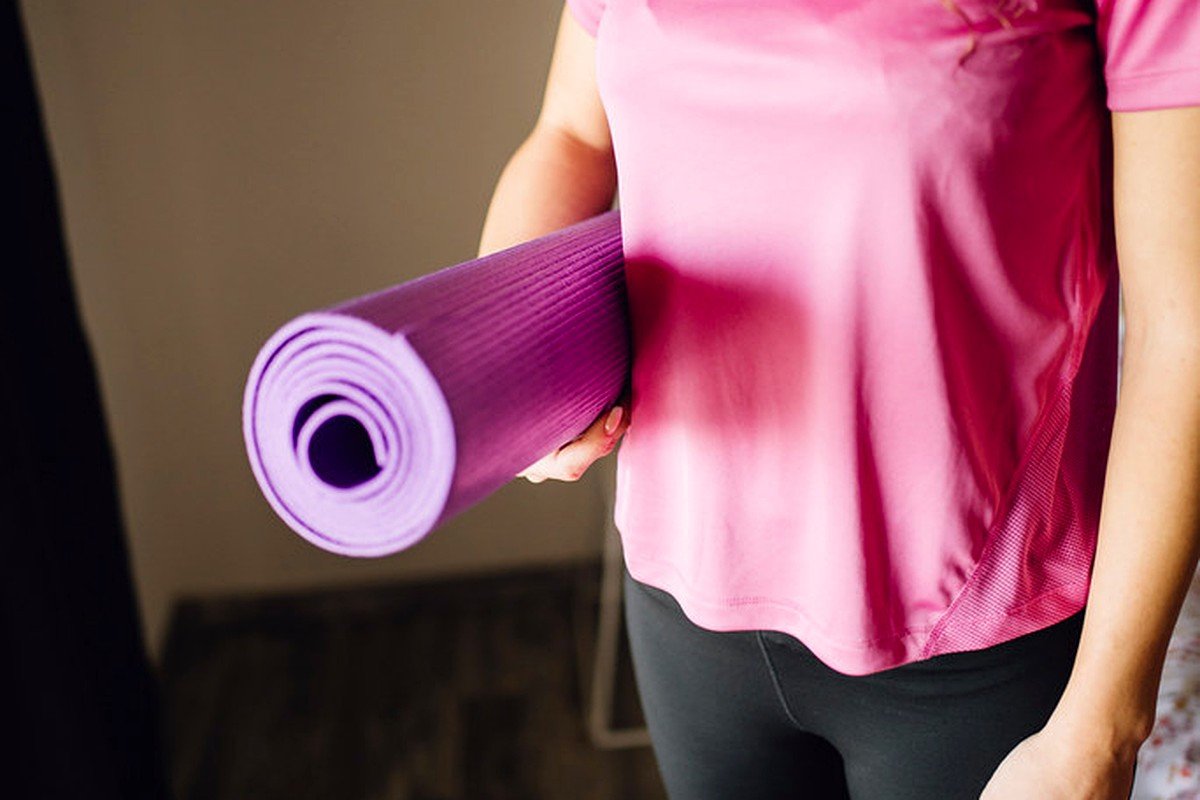
- A Comfortable Exercise or Yoga Mat: Provides cushioning for your spine, elbows, and knees during floor-based movements, and creates non-slip grip for sweaty palms.
- Sturdy Household Furniture: A stable living room couch, kitchen counter, or dining chair serves as an outstanding elevated surface for incline push-ups, Bulgarian split squats, or tricep dips.
- A Stopwatch or Smartphone Timer: Keeping strict accountability over your resting intervals prevents wandering attention and keeps cardiovascular intensity dialed in.
- Water Bottle & Small Hand Towel: Staying hydrated throughout your working sets keeps muscular contraction velocity high and staves off cramping.
Master Step-by-Step Exercise Execution Guide
Follow these detailed biomechanical coaching instructions for each movement in the circuit. Form and technical precision always take precedence over sheer speed:
Movement 1: Day 1-7: The Habit Foundation Phase
Commit to just 15 minutes of scheduled daily movement alternating between basic bodyweight circuits and brisk walks. Never jump directly into intense working sets with cold, stiff joints. This preparatory phase circulates synovial fluid throughout your shoulder capsules, lumbar spine, and hip acetabulums. Move with intentional, slow control, taking deep diaphragmatic breaths through your nose to awaken your neuromuscular pathways. You should feel your joint warmth rise and any morning stiffness smoothly dissolve.

Movement 2: Day 8-14: Introducing Progressive Intensity
Increase working interval times and add 1 extra set to your circuits as movement patterns feel natural. Set your feet shoulder-width apart with toes flared outward roughly 15 to 20 degrees. Initiate the movement by unlocking your hips backwards as if sitting into an invisible chair behind you. Drive your knees actively outward over your middle toes to prevent valgus knee collapse. Descend until your hip crease breaks parallel with your knee tops, then drive explosively through your mid-foot and heels to return to full standing lockout, squeezing your glutes at the peak.
Movement 3: Day 15-21: The Midpoint Recovery & Refocus
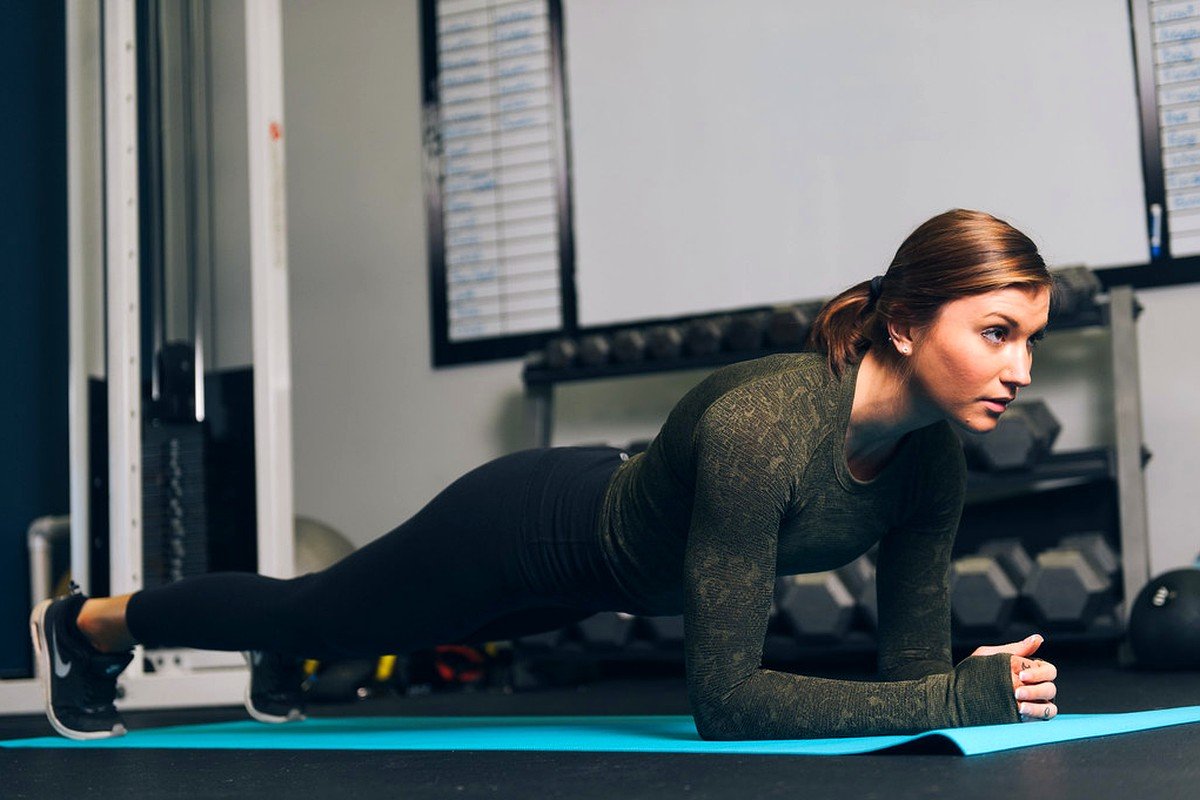
Incorporate scheduled active recovery days and assess non-scale victories like increased energy and deeper sleep. Position your hands slightly wider than shoulder-width apart. Screw your palms into the surface to engage your external shoulder rotators and flare your lats. Maintain a rigid, unbroken plank line from the crown of your head to your heels—never allow your lower back to sag or your hips to hike up. Lower your chest smoothly toward the surface, keeping your elbows angled back at approximately 45 degrees like an arrowhead, before pressing back to lockout.

Movement 4: Day 22-28: Mastering Full-Body Stamina
Combine upper, lower, and core circuits into seamless full-body workouts with minimal resting intervals. Unilateral (single-leg) exercises are the holy grail of functional leg training because they instantly reveal and correct strength imbalances between your left and right sides. Take a controlled step backward, descending smoothly until your back knee gently hovers one inch above the floor. Ensure your front shin remains nearly vertical to maximize glute and hamstring loading while minimizing anterior knee shear stress. Push through the front heel to return to standing.

Movement 5: Day 29-30: Benchmark Testing & Celebration
Re-test your Day 1 baseline (air squats, plank hold, walking pace) to quantify your remarkable strength gains. For this dynamic core movement, the key is maintaining complete lumbar stability while moving your extremities. Set up in a rock-solid plank position with your hands stacked directly underneath your shoulders. Drive one knee forward toward your chest in a smooth, rhythmic piston motion without allowing your hips to bounce upward or rotate. Think about actively pulling your belly button up into your spine throughout the entire working interval.

Movement 6: Creating Your Day 31+ Sustainable Lifestyle Plan
Transition from the 30-day challenge into an ongoing year-round 3-to-4 day weekly workout rhythm you love. Lie flat on your back with your knees bent and heels positioned roughly 6 to 8 inches from your glutes. Press your arms flat into the floor beside you for stability. Drive firmly through both heels to elevate your hips into full extension, creating a straight ramp from your knees to your shoulders. Hold the peak contraction for a distinct two-second count, squeezing your gluteal muscles with maximum voluntary contraction before lowering under slow control.
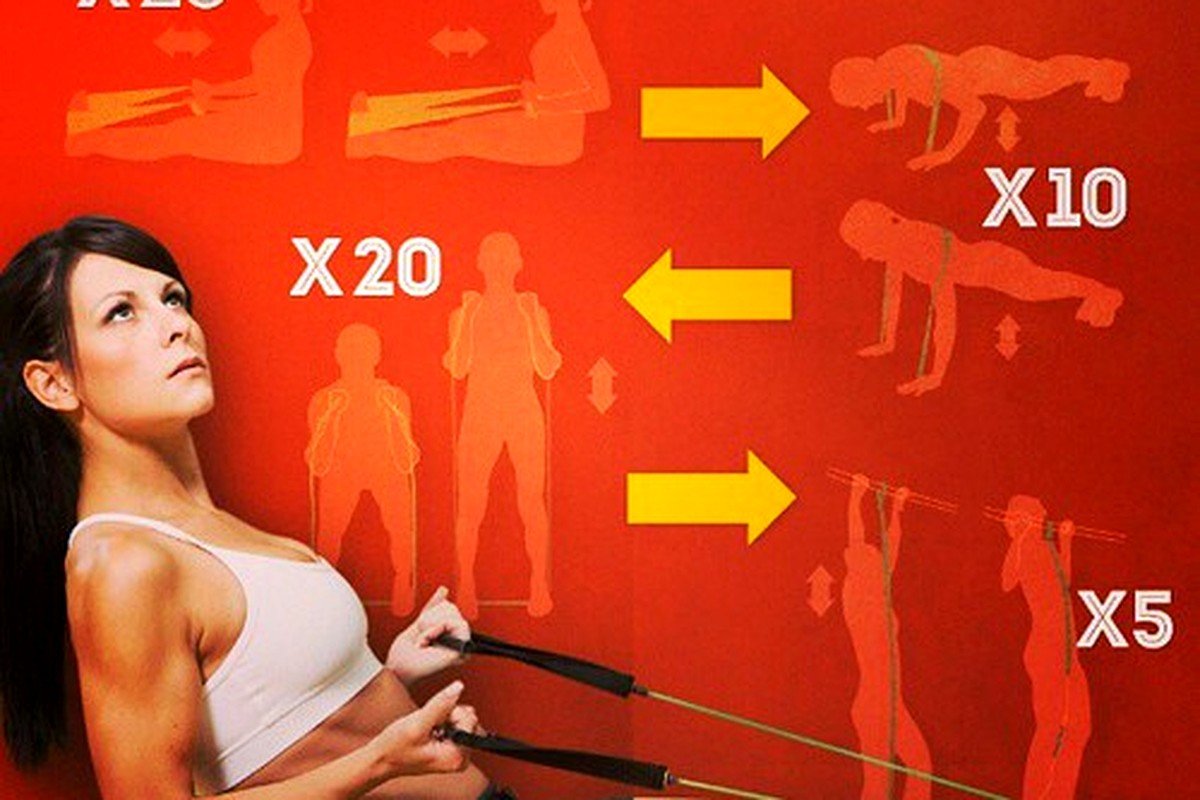
Pro Coach Form Cues & Biomechanical Mastery
Small technical details make a massive difference in muscle recruitment and injury prevention. Keep these three golden rules in your mind throughout every workout:

- The Never-Miss-Two Rule: Life happens and missing one day is okay; the golden rule of consistency is never allow two missed days in a row. Mind-muscle connection is not gym lore; clinical EMG studies prove that consciously focusing on contracting the target muscle increases motor unit recruitment by up to 22%. Don’t just go through the motions—actively contract the working muscle!
- Celebrate Non-Scale Triumphs: Notice how climbing stairs feels effortless, posture is upright, and afternoon brain fog has vanished. The eccentric (lowering) phase causes the greatest micro-trauma to muscle fibers, which triggers rapid strength gains and muscle toning. Resist the temptation to drop fast; control the descent for a full 3 seconds on every single rep.
- Intra-Abdominal Bracing (The 360-Degree Shield): Before initiating any strenuous repetition, brace your abdominal wall as if preparing to take a punch in the stomach. This pressurizes your peritoneal cavity, protecting your spinal discs and transferring force cleanly between your upper and lower body.
Common Mistakes That Sabotage Progress & Better Solutions
Avoid these frequent form breakdowns to keep your joints healthy and your gains consistent:

Form Flaws to Eliminate
- Rushing through repetitions with zero tempo control, using bouncing momentum instead of muscular force.
- Allowing knees to cave inward (valgus collapse) during squats and lunges, irritating the patellar tendon.
- Hyperextending the lumbar spine during planks or push-ups, placing heavy strain across the lower vertebrae.
- Holding your breath during difficult reps, causing dangerous spikes in intrathoracic blood pressure.
Master Form Protocol
- Implement a strict 3-second lowering tempo on every exercise.
- Actively screw your feet into the floor to drive your knees outward in line with your toes.
- Maintain a hollow-body core brace, tucking your pelvis slightly under into a posterior tilt.
- Inhale deeply during the lowering phase; exhale forcefully through pursed lips during the pushing effort.
Customizing the Intensity: Regressions & Progressions
No matter your current fitness level, this routine can be customized to match your exact physical capability:
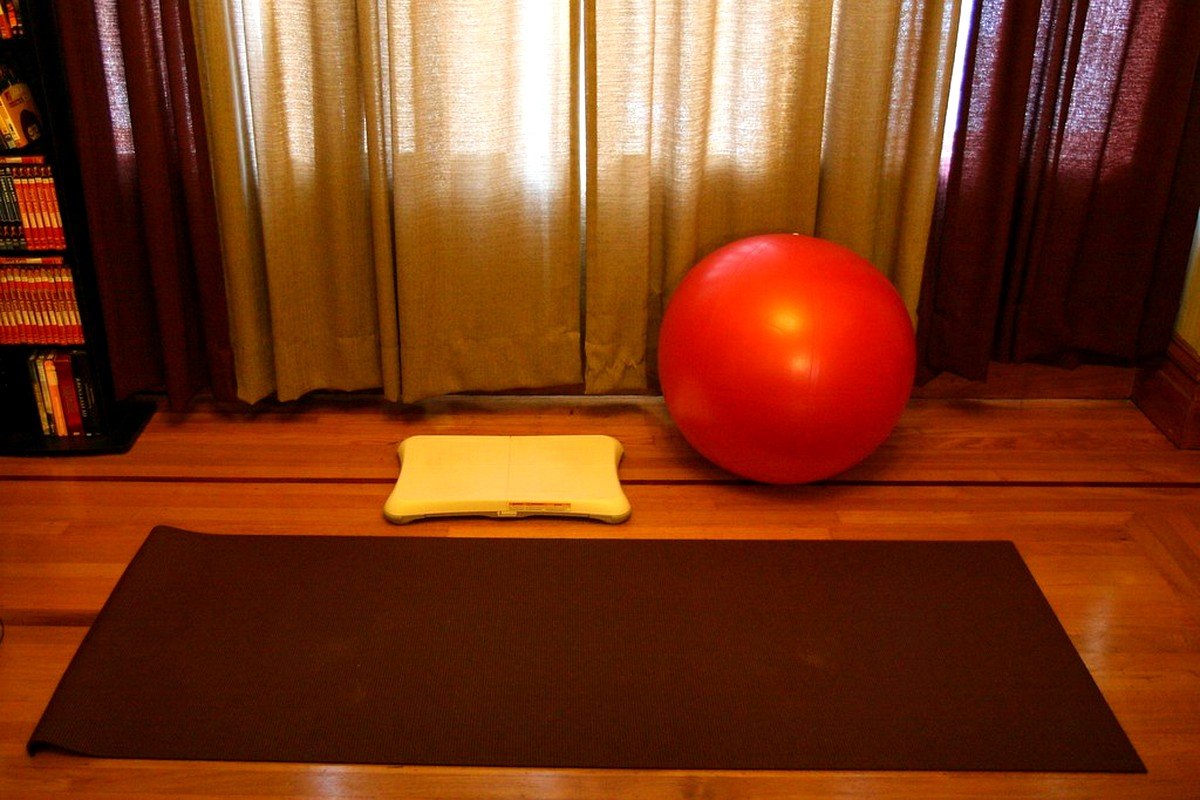
- For Absolute Beginners: Perform all push-up movements with your hands elevated on a high kitchen counter or sturdy wall. During squats, place a dining chair behind you and practice sitting lightly onto the edge before standing back up. Reduce working sets from 3 to 2.
- For Advanced Athletes: Elevate your feet onto a chair during push-ups to place 75% of your bodyweight across your upper chest. Add a 1.5-rep protocol to squats (descend to the bottom, rise halfway up, drop back to the bottom, then stand fully). This doubles time-under-tension!
- For Joint-Sensitive Individuals: If lunges cause knee discomfort, substitute with stationary reverse step-backs or supine glute bridges. If wrists hurt during push-ups, perform them gripping dumbbells or push-up handles to keep wrists in a neutral, pain-free alignment.
Post-Workout Recovery & Soreness Management
Your workout is merely the stimulus for progress; the actual muscle rebuilding and fat burning happen during recovery:
Within 45 minutes of finishing your session, consume a balanced meal or snack containing 25 to 35 grams of high-quality protein alongside complex carbohydrates to replenish depleted muscle glycogen stores and halt cortisol-induced muscle catabolism.
Delayed Onset Muscle Soreness (DOMS) typically peaks 24 to 48 hours following a workout. The single best remedy for soreness is not sitting stationary on the sofa; it is active recovery. A brisk 20-minute walk, light foam rolling, and gentle mobility flows circulate fresh oxygenated blood through stiff muscle tissues, flushing metabolic waste and speeding recovery substantially.
Weekly Training Schedule & Habit Stacking Calendar
To achieve remarkable, visible results, structure your weekly training with built-in recovery days:
- Monday (Full-Body Session #1): Perform the complete 25-minute workout as outlined, focusing on tempo and perfect technique.
- Tuesday (Active Recovery): Non-negotiable 30-40 minute outdoor brisk walk + 10 minutes of gentle spinal mobility.
- Wednesday (Full-Body Session #2): Repeat the full-body workout, aiming to add 1-2 reps per exercise compared to Monday.
- Thursday (Active Recovery): 30-minute low-stress walk + hip flexor and hamstring mobility stretches.
- Friday (Full-Body Session #3): Final intense workout of the week, pushing for clean form and maximum core tension.
- Saturday (Recreational Movement): Enjoy a hike, bicycle ride, swimming, or active play with family.
- Sunday (Rest & Reset): Complete rest, Sunday meal prep for the week ahead, and early 8-hour sleep.
Frequently Asked Questions from the Community
Here are clear, authoritative answers to the most common workout questions our community asks:

1. What equipment is needed for the 30 days?
Nothing except a comfortable pair of shoes, a yoga mat or carpet, and your own bodyweight! If you are an absolute beginner, three non-consecutive 25-minute sessions per week (e.g., Monday, Wednesday, Friday) is the gold-standard frequency. This provides the ideal stimulus for muscular adaptation while giving your nervous system and tendons 48 hours of full recovery between bouts.
2. How to handle unexpected soreness?
Take an Epsom salt bath, drink 3 liters of water, and perform the 10-minute morning mobility flow. Burning out usually happens when people try to do too much too fast. Remember that 20 minutes of moderate, consistent exercise that you actually look forward to doing every other day will yield infinitely greater results than a brutal 90-minute torture session that leaves you injured, exhausted, and quitting after two weeks.

3. Can I build visible muscle tone without lifting heavy iron weights?
Without question! Muscle fibers do not possess eyes to see what you are lifting; they only register internal mechanical tension. When you manipulate tempo (slowing down repetitions), pauses at the bottom, and volume, you stimulate the exact same muscle protein synthesis pathways as heavy barbell lifting.
4. Should I do cardio before or after this workout?
Always perform this bodyweight resistance workout first when your central nervous system and glycogen stores are fresh. If you wish to do cardio, save it for after your strength workout, or even better, perform it on separate active recovery days to avoid blunting muscle building adaptations.
Your Journey Starts Today: Take Action Now!
You do not need to wait until next Monday, until the weather clears, or until life becomes magically less busy to take control of your physical vitality. Put on some comfortable clothes, clear a small six-foot space in your living room, unroll your mat, and complete your first set of movement today. Consistency is the ultimate alchemist of human potential—start building the strong, energized, capable body you deserve!